Watch Making of Magical Wishing Well Craft Home Décor
Home decors have become mandatory these days as we all love to stay in well decorated house. We love to keep unique showpieces in our room as it feels special and also draws appreciation from guest. Here we are going to make a unique magical wishing well home décor which is very attractive and unique in its own way. It has a traditional essence as well.
This is our best out of waste craft that anyone can easily make.
Things Needed to Make this Wishing Well Craft
- Cardboard
- Mount board
- Pencils
- Cutter
- Fevibond Glue
- Glue Gun
- Scissors
- Ice-cream sticks
- Acrylic colors and brushes
- Artificial plants and flowers
Procedure to Make Wishing Well Craft
Step 1: Let’s take a cardboard and draw two circles on it. Cut it.
Step 2: Paste the circles together using fevibond.
Step 3: Take a mount board and paste it around the circle covering it completely.
Step 4: Now make two circles of different diameter and cut it to get the ring shape.
Step 5: Fix this ring shape design on top of the mount board to give it the design of a well.
Step 6: Now take the cut out inner circle. Draw and cut out semicircles and arcs from it. We need two of each type for the craft.
Step 7: Take pencils and cut it. Make holes in the ring and fix the pencils.
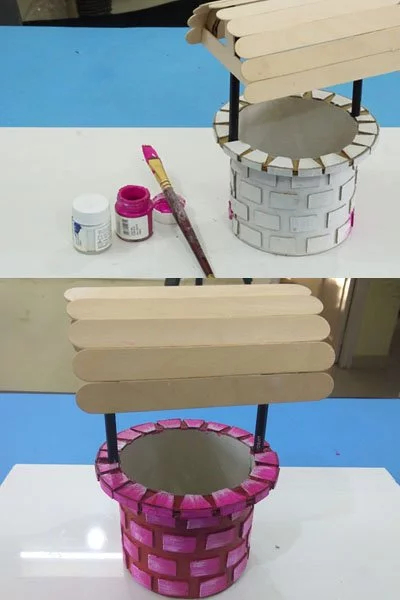
Step 8: Now take the arcs and paste the ice-cream sticks on it connecting the arcs to form a thatch on the well.
Step 9: Fix and paste this design on top of the pencils.
Step 10: Now paste some more ice-cream sticks on the sides as well to complete the design.
Step 11: Cut ice-cream sticks into small pieces and paste it on the ring. Similarly, paste the sticks on the mount board as well to give it a uniform look.
Step 12: Let’s start painting the well using different acrylic colors. Use lighter shades to highlight the design and make it look beautiful.
Step 13: Make some rough designs on a piece of cardboard and cut it.
Step 14: Now paste the well design on the surface of the cut out cardboard piece.
Step 15: Paint the cardboard with shades of blue and green to give it a natural look.
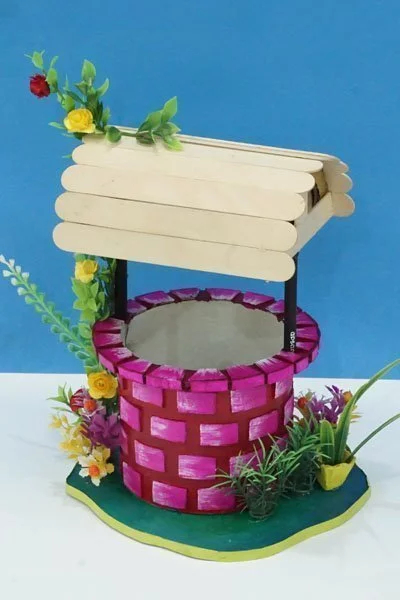
Step 16: Take some artificial plants and flowers and paste them on the sides of the well to complete the look.
Wow! Your beautiful DIY home décor well is now ready.
This wishing well craft looks so beautiful and natural. It has a traditional aspect attached to it and gives a nostalgic effect of village. This is a great home décor and you can keep this unique design anywhere in your home. This will definitely catch the attention of your guests. Even kids can make this handmade craft for their school projects.
Hope you will enjoy making this craft. In case of any suggestion or feedback, please share the same in the comment section.
Happy Crafting!


