Desk organizers are very important for the desks. These devices can store practically anything and everything for you which lie in scattered state outside. The DIY desk organizer gives your table and work area an organized appearance which otherwise looks messy. You can buy desk organizers from the market based on your taste. Some people like simple ones whereas others prefer decorative pieces.
Here we will teach you how to make a beautiful DIY Cardboard Desk Organizer which will suit all your need. It is simple yet decorative and people from all age groups can use the same.
Let’s begin making our own DIY desk organizer at home.
Materials Required
- Printed paper
- Colour paper
- Adhesive
- Pencil
- Paper cutter
- Scissors
- Scale
- Glue gun and stick
- Decorative Tapes
- Paintbrush
- Cardboard
- Paint
Procedure For Making DIY Cardboard Desk Organizer
Step1-
- Take cardboards of different shape and sizes.
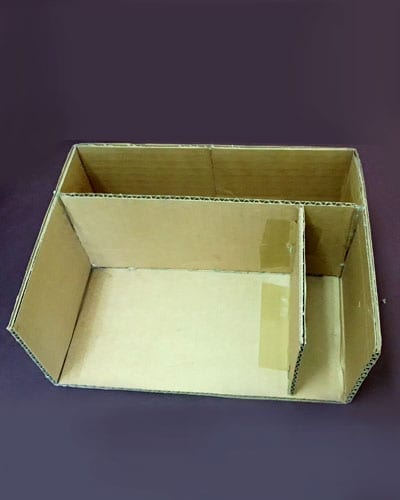
- Take the cardboard pieces and partition the desk organizer into different size compartments.
- Use the glue gun and paste the cardboard pieces to build the partition.
Step 2-
- Use open boxes to serve as drawers for the organizer desk.
- Cover the boxes with cardboard pieces to make it a pull out drawer.
- Make two such layers of pull out drawers.
Step 3-
- Take a cardboard and measure the width of the box at one side, adjacent to the pull out drawer.
- Cut out the cardboard with the same dimension to make a separate box.
- Now cut out another piece of cardboard which will serve as the divider for this box.
- Attach the separate box to the original box.
- Place the divider in the center of the box to get two separate boxes.
- The desk organizer structure is now ready.
Step 4-
- We will now paint the DIY desk organizer.
- Take white paint and with the help of a brush, paint the inner portion of the box completely.
- The outer portion of the pull out drawers, take the measurement and cover the outer portion of the box only.
- Take a colored sheet and measure the dimensions similar to the top of the organizer. Cover the top portion of this colored sheet.
- Take a blue color sheet and measure the dimensions of the outer portion of the organizer.
- Cut along and paste the sheet covering the outer surface of the organizer.
- Decorate the edges of the organizer using decorative tapes.
Your desk organizer is now ready to use!!
Conclusion
You can place cards, books, CD’s etc in this DIY desk organizer. It has multipurpose uses and you can keep anything inside it. It is simple yet has an elegant look and can be placed both in the home and office. It is easy to prepare and can be prepared with unused waste substances lying in the house. You can use your own imagination and decorate the organizer as per your creativity. It is a useful device and a must have in your home.
Hope you have enjoyed this craft. Share your views in our comment section below.
Happy Crafting!


